
One of the first things every fat bike owner should learn when they purchase a new bike is how to change a tire. Fat bike tires are known for being extremely durable, but they are still susceptible to wearing out, developing holes, and more.
While the option is always there to take it to a local bike shop, most feel like it is unnecessary to do that. The more efficient way of handling everything is to learn how to change a fat bike tire without any additional assistance.
Addressing an issue that pops up spur of the moment can help out not only a rider, but anyone else in the group or stranded on the trail as well.
Need help handling everything? The entire process is pretty straightforward. While each bike might have a slightly different setup, most focus on making everything as easy as possible for bike riders to handle things themselves.
Initial Preparation For Changing your Bicycle Tire
1. Setting Up a Work Area
The best way to replace a tire on any kind of fat bike is first to set up a great work area. That means ample space not only to put the bike upside down or on a stand, but move around the bike pretty freely. It is frustrating to try to do anything in cramped spaces, so avoid that when possible.
If the plan is to do quite a bit of work at home, look into investing in an upright bike stand (My Amazon Recommendation). This will allow you to keep the bike still when working on it from any angle.
These bike stands are pretty affordable these days, and are easy to fold up if they are not in use. No one has to worry about it sitting there idle when not in use.
Just make sure to get a good bike stand that can hold the weight of a fatbike since these fatties are a bit heavier in general than your typical road/MTB.
2. Adjusting the Bike
The goal should always be to make the process as easy as possible. That means making a few adjustments here and there on the bike to provide a little bit more flexibility.
More adjustments are necessary for changing a back tire, as a front tire is about simple as it comes. Take a look at each section before jumping into it.
3. Front Tire
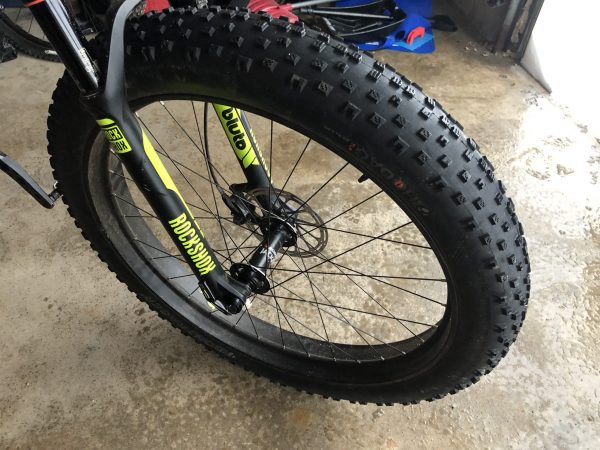
The only real adjustment is to detach the brake cables and open the quick-release lever. Most bikes are at the point where they do pretty much the same thing with their set up. Find levers on one side of the front tire in most cases, and after pulling it away from the bike, a few rotations will loosen everything up enough to pull the tire off.
If a bike still seems stuck a bit, the tire is likely catching on the brake cables. The brake cables should come apart pretty easily by squeezing the calipers on the brakes so that the cables are free. They will sometimes free themselves up automatically with the quick release lever, but double-check to make sure they are not catching. Other than that, a front fat bike tire should pop right off.
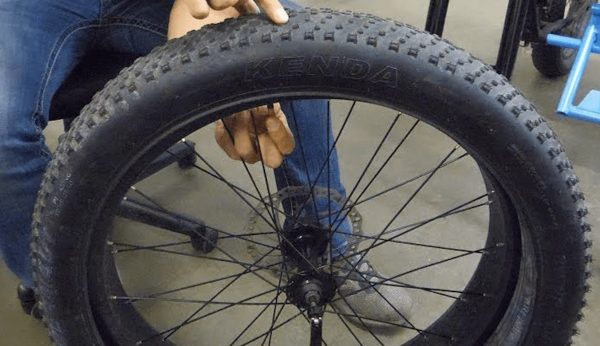
4. Back Tire
The back tire is a more difficult tire to replace. That is where the chain and gears are located, and it takes a little bit more of an effort to get everything squared away.
Companies have done a great job of simplifying the process, as it used to be a significant hassle before the invention of quick-release levers. Cheaper fat bikes tend to not have a quick release for the back tire however.
To start with, adjust the gears to the smallest ring makes it just a little easier to remove the rear tire. There will be a quick-release lever on the back wheel just like the front one, but extra care is needed so that the fat bike still operates properly.
It is not as simple as popping off and putting back on, so refer to the user manual, or at the very least, take note of how everything lines up before starting. Take pictures of the back tire beforehand, so if something goes wrong later on, there is a guide to putting it all back together.
If there are no quick-release levers, the alternative is to use a wrench to loosen up nuts that are locking the wheels in. Fortunately, since fat bikes are pretty new, this is not an issue for the vast majority of people.
5. Handling the Wheel
When replacing a tire on the fat bike, fully deflate and loosen up the bead. This is going to make the entire process a lot easier to take the tire off of the rim.
More often than not, the tire will not need deflating because it is already flat in the first place. The only people who will have to deflate their tire manually are those who might be switching from one type of tire to another.
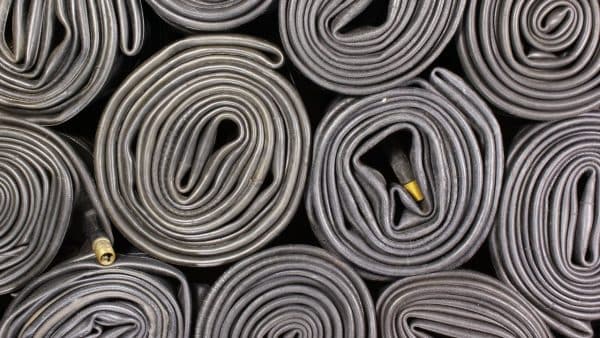
Make sure to handle the inner tube of the fat bike, if there is one, properly if the plan is to use it again. If it is damaged, it is not going to be useful in any other time scenario. Some people will opt just to replace their tubes anyway when changing tires.
Take a look around the tire when and see exactly what caused the damage or loss of air. Often times, it’s a very random thing that occurs when a tire goes flat. However, there could be something that is pinching the tire, and getting that fixed before putting another tire on is essential.
6. Pulling the Tire (and tube) Off the Rim
The easiest way to take a tire off of the rim is to use a tire lever. This will pop up the edge of a tire, releasing it from the frame and making it that much easier to go around the entire wheel.
It helps to have two levers working at the same time, one to stabilize the lifted edge, and the other to work around the rest of the tire to take everything off.
Despite it seeming a little complicated at first, the entire process is relatively straightforward. There are other ways to take care of a tire if levers are not available, but since tire levers are so cheap, it is worth investing in.
Using items like a spoon, screwdriver or some other household product could do damage to a tire because they are forced into certain areas.
If the fat bike tire has a tube in it, it needs taken out before popping the entire tire off. This is because the tube has an air valve that goes into the frame. Trying to take off the tire in the air valve at the same time will usually prove to be pretty problematic. Since the tube will be deflated, nothing other than the air valve will be too troublesome if the tire has one edge off of the rim.
7. If the Tube Only Needs Replaced…
If the tire itself is fine, but the tube needs replaced, putting a new tube and works in the opposite way of taking the old one out. Make sure to treat the tube with care, and even add a little bit of air so that it holds its shape. Not only will it be easier to put into the tire, but it will also expose any leaks or holes before going through the process.
Make sure to inspect the inside of the fat bike tire to see if there are any hidden issues. Since tubes are much more delicate than durable fat bike tires, there might be something lodged inside the tire that caused damage. Something as simple as a thorn can do significant damage to a tube.
Once everything looks clear, start working in the tube, starting with the valve. It needs inserted into the rim before moving forward properly. This acts as a guide throughout the rest of the process. Just make sure that there are no awkward folds or wrinkles that might cause issues once the tire is fully inflated.
8. If the Full Tire Needs Replaced…
It’s a little more time-consuming to replace a full tire, and since fat bike tires are so durable, it doesn’t happen all that much. Tires only need replacing if they have so much damage that patching won’t do any good, or the tread has completely worn out.
There are some occasions where a person just wants different tires on the fat bike altogether, or they are switching from tubes to a tubeless setup.
Whatever the case is, taking the old tire off isn’t too complicated. The more difficult process is getting the tire back onto the rim. It is a very tight fit, and the tire needs stretched a bit to pop on.
Once one edge of the tire is on, leave the other edge off so that the new tube can go in if needed. If it is a tubeless set up, the second edge of the tire will snap on much easier.
As challenging as it might be to put a new tire back on the rim, avoid using tools if possible. With a little bit of work, the hands will do just fine. Using tools could stretch out the tire too much, or do permanent damage before it gets used.
It is important to examine the tube and confirm that it is entirely inside the tire before pushing in the other edge. If there is any pinching whatsoever, it is going to cause a pretty quick flat tire.
Push the tube as deep into the tire as possible. Since that bike tires are pretty wide, and the tubes don’t need filled as highly in air pressure as other bikes, this is easier to handle.
9. Final Touches on the Wheel
A few final touches will decrease the chances of something happening that will cause trouble later on. For starters, screw the lock ring on the air valve once it is on. The small ring might not seem like a big deal, but it will hold the tube in place every single ride. Since fat bike tubes are inflated pretty low in pressure, these rings come in handy.
Some people like to inflate the tire while it is still off the bike, while others will wait until putting it back on. It is really a matter of personal preference, but it tends to be easier when it is just the tire itself. Check to see just how much pressure should go into the tire before over-inflating.
10. Putting the Tire Back on the Bike

The fat bike tire is ready to go back on the bike now that everything is taken care of. Make sure to line the tire back up with the forked slots that hold everything in a place. Try to keep the quick release lever on the same side for the front and the back.
After tightening the lever, spin the wheel around and check that it spins freely. If anything catches at this point, it needs to be realigned or examined further.
The final steps include reconnecting the brakes and making sure that everything lines up correctly. Sometimes, brake pads can move around a bit, and a quick adjustment will straighten them back up.
And of course the very final step is to add the propper amount of air for whatever type of terrain you’ll want to venture off to! Here’s a guide to help you figure out how many PSI’s your tire will need.
Additional Tips For Replacing a Fat Bike Tire
Here is a look at some other basic tips that can help people out when replacing a fat bike tire.
Don’t be Afraid to Ask Advice the First Time
One of the best ways to learn about replacing a fat bike tire, or doing other simple repairs on a fat bike, is to simply observe a professional work on some basics the first time.
It might be worth paying for a tune-up at a local bike shop, and then sticking around and seeing how they do things. Understanding how the tires come off at on will help out a lot if they are causing issues down the road.
As frustrating as it might be for some people to bite the bullet and go to a local bike shop to get a tire replaced, it is better than doing further damage.
Some people will go because they don’t know how to fix things, while others will go because they might not have the proper tools available to them currently. Another reason might simply be lack of workable space, especially for those who live in an apartment.
Work Indoors When Possible
It is not that big of a deal when replacing a simple flat tire, but working inside will provide a cleaner environment. A lot of people do not want to get everything dirty when they are replacing a tire. It’s not always possible, but it does help to work inside. A flat surface is also beneficial, since it stabilizes the bike and allows for quicker work.
Store Bikes Inside as Well
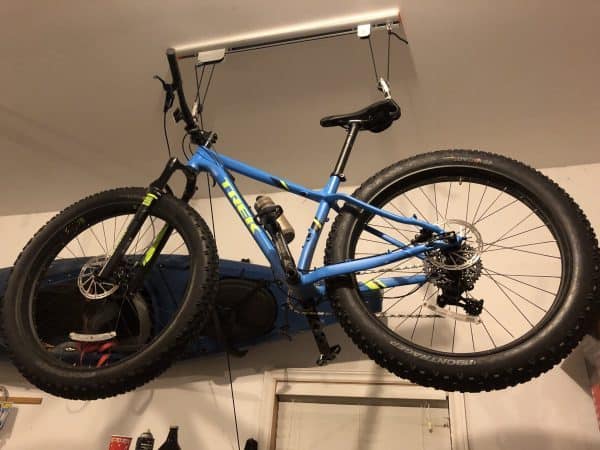
It is more important to store a bike inside than to work on it inside. Having a fat bike inside will prevent rust from forming, tires from deteriorating, and more. Even if a fat bike receives little use, the tires could deteriorate if left outside in just a few years. It would take over a decade for most fat bike tires to show signs of deterioration if they are left inside.
Underinflate Instead of Over-Inflate
This is key for fat bikes, since they have the lowest psi of any type of bike out there. Over inflating an inner tube will make it susceptible to blowing out. Yes, tires will start to lose air pressure as time goes on, but there’s no need to over-inflate them right away. If anything, inflate them to the lowest pressure, and then adjust when it comes time to actually ride.
Pay Close Attention to the Rim, and Other Parts of the Tire Before and After Replacement
Some people will end up bending or damaging the rim of the tire without even realizing it. The components on a fat bike are pretty durable, but make sure that nothing is damaged before riding the bike again. Even a slight bend in the rim can lead to some pretty severe problems.
Remember to use minimal tools when replacing a tire, because devices that are too powerful can cause some structural damage to the bike or tire.
A Final Look at the Tire Changing Process
Fat bike tires need occasional attention just like any other bikes out there. It is crucial to put in a little bit of work once in a while to keep everything running smoothly. Remember, the tires on a fat bike play a significant role in how it functions. If they are not working correctly, it becomes challenging to navigate on different terrains.
Quite a few people will always travel with an extra tube for a fat bike tire (Amazon), as well as tire levers (Amazon). Those are all that a person needs to make a quick fix if something happens.
There is also the option of carrying some supplies to patch up a hole in a tire, but some will take their chances in that regard. Of course, with cell phones, it is less of a risk to be riding around without anything to fix a tire if there is damage.
As long as a person does not panic, a fat bike tire replacement should go pretty straightforward. Companies understand that many people want to take care of this themselves, so they are not going to make the process too complicated. Reading through the manual beforehand will give people a general idea on how to get back on the trails as quickly as possible.
One thought on “How to Change a Fat Bike Tire: a Step-By-Step Guide”